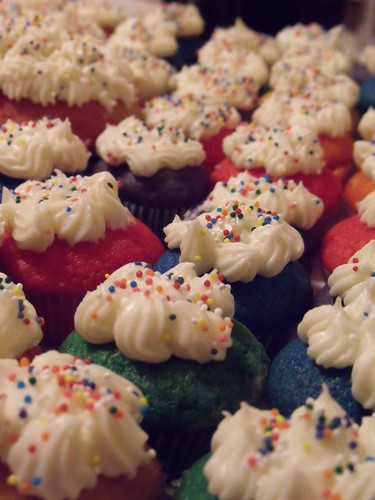
Big beautiful rainbows have been popping up all over lately. Seattle Pride (our neighbour to the south) have just announced a fantastic Over the Rainbow celebration on the 27th. Our own city starts up it's Pride Season a bit later on, with the giant parade taking place in August, but why wait? I thought this would be a great time to share our Velvet Rainbow recipe.
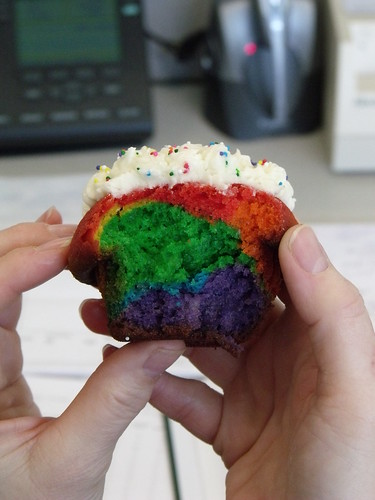
Creating a rainbow effect in our baked goods is a favourite technique of ours. Our last big cake, this little smiling llama, had tricolour insides. This cake I brought into the staff room to celebrate our upcoming spring break surprised everyone with what was inside. In the past, all our rainbow cakes and cupcakes have been vanilla yogurt - one of our favourite flavours - but we thought it was time to leave our vanilla cake be and move on to bigger and better things. Namely, red velvet cake - a baked good that is just asking to be coloured.
There are two areas of thought when it comes to Red Velvet - to cocoa or not to cocoa. Originally, the vivid red colour of the cake came from the reaction of the acidic vinegar to the red anthocyanin in the cocoa. Of course, now that we have more alkaline Dutch processed cocoa, we've taken to using heaps and heaps of red food colouring to achieve the same effect. Many people still keep the cocoa in the cake - for flavour and perhaps just for old times sake - but I tend to subscribe to the group that's taken out the chocolate completely. This gives us a more pure colour and clean flavour.
Poo-poo us if you'd like, cocoa purists - but you've got to admit, the rainbow really stands its own without it.
Rainbow Velvet Cake
adapted from Rachel Cheatwood's classic recipe
Makes one 9 inch cake or, in our case, 60 minis or 30 cupcakes
2 1/2 cups self-rising flour (learn how to make your own here)
1 teaspoon baking soda
1 1/2 cups sugar
1 1/2 cups vegetable oil
2 large eggs, lightly beaten
1 1/2 teaspoon white vinegar
1 teaspoon pure vanilla extract
3/4 cup yogurt + 1/4 cup milk
Red, Yellow, Orange, Green, Violet and Blue food coloring gels
1.) In a medium bowl, sift together flour and baking soda. In a larger bowl combine sugar, vegetable oil, eggs, vinegar, and vanilla. Beat with a mixer until light and stir until all the flour is incorporated. Add the yogurt mixture and mix (if your batter is a little dry, don't be afraid to add a bit more milk/yogurt - all yogurts have different moisture contents, so my batter will probably be different then yours).
2.) Preheat your oven to 350F. Divide your batter and colour individually or rainbowfy your batter according to these directions and put them in the oven for about 12-15 minutes for minis, 20-25 for regular sized cupcakes (or just until your cake tester comes out clean).
3.) When cool, slather with your favourite cheese-based icing. Cream Cheese buttercream is a classic, but if you're more adventurous, try a sour cream buttercream. Sprinkles are a must.

taste the rainbow - or just eat the whole thing

6 comments:
wow those looks awesome, great colors.
I have been meaning to make something like this for a while - they are so pretty. Nice vivid colors!
Those are so cool!!
Love 'em! You're definitely taking cupcakes to a new level!
Baked them today. LOVE THEM!
Hi – Red Velvet is one of my new obsessions…. this cupcake looks yummy!
Post a Comment